> ## Documentation Index
> Fetch the complete documentation index at: https://docs.fluents.ai/llms.txt
> Use this file to discover all available pages before exploring further.
# How-To: Widget
> Learn about the Fluents.ai widget and how to add it to your website.
# Widget
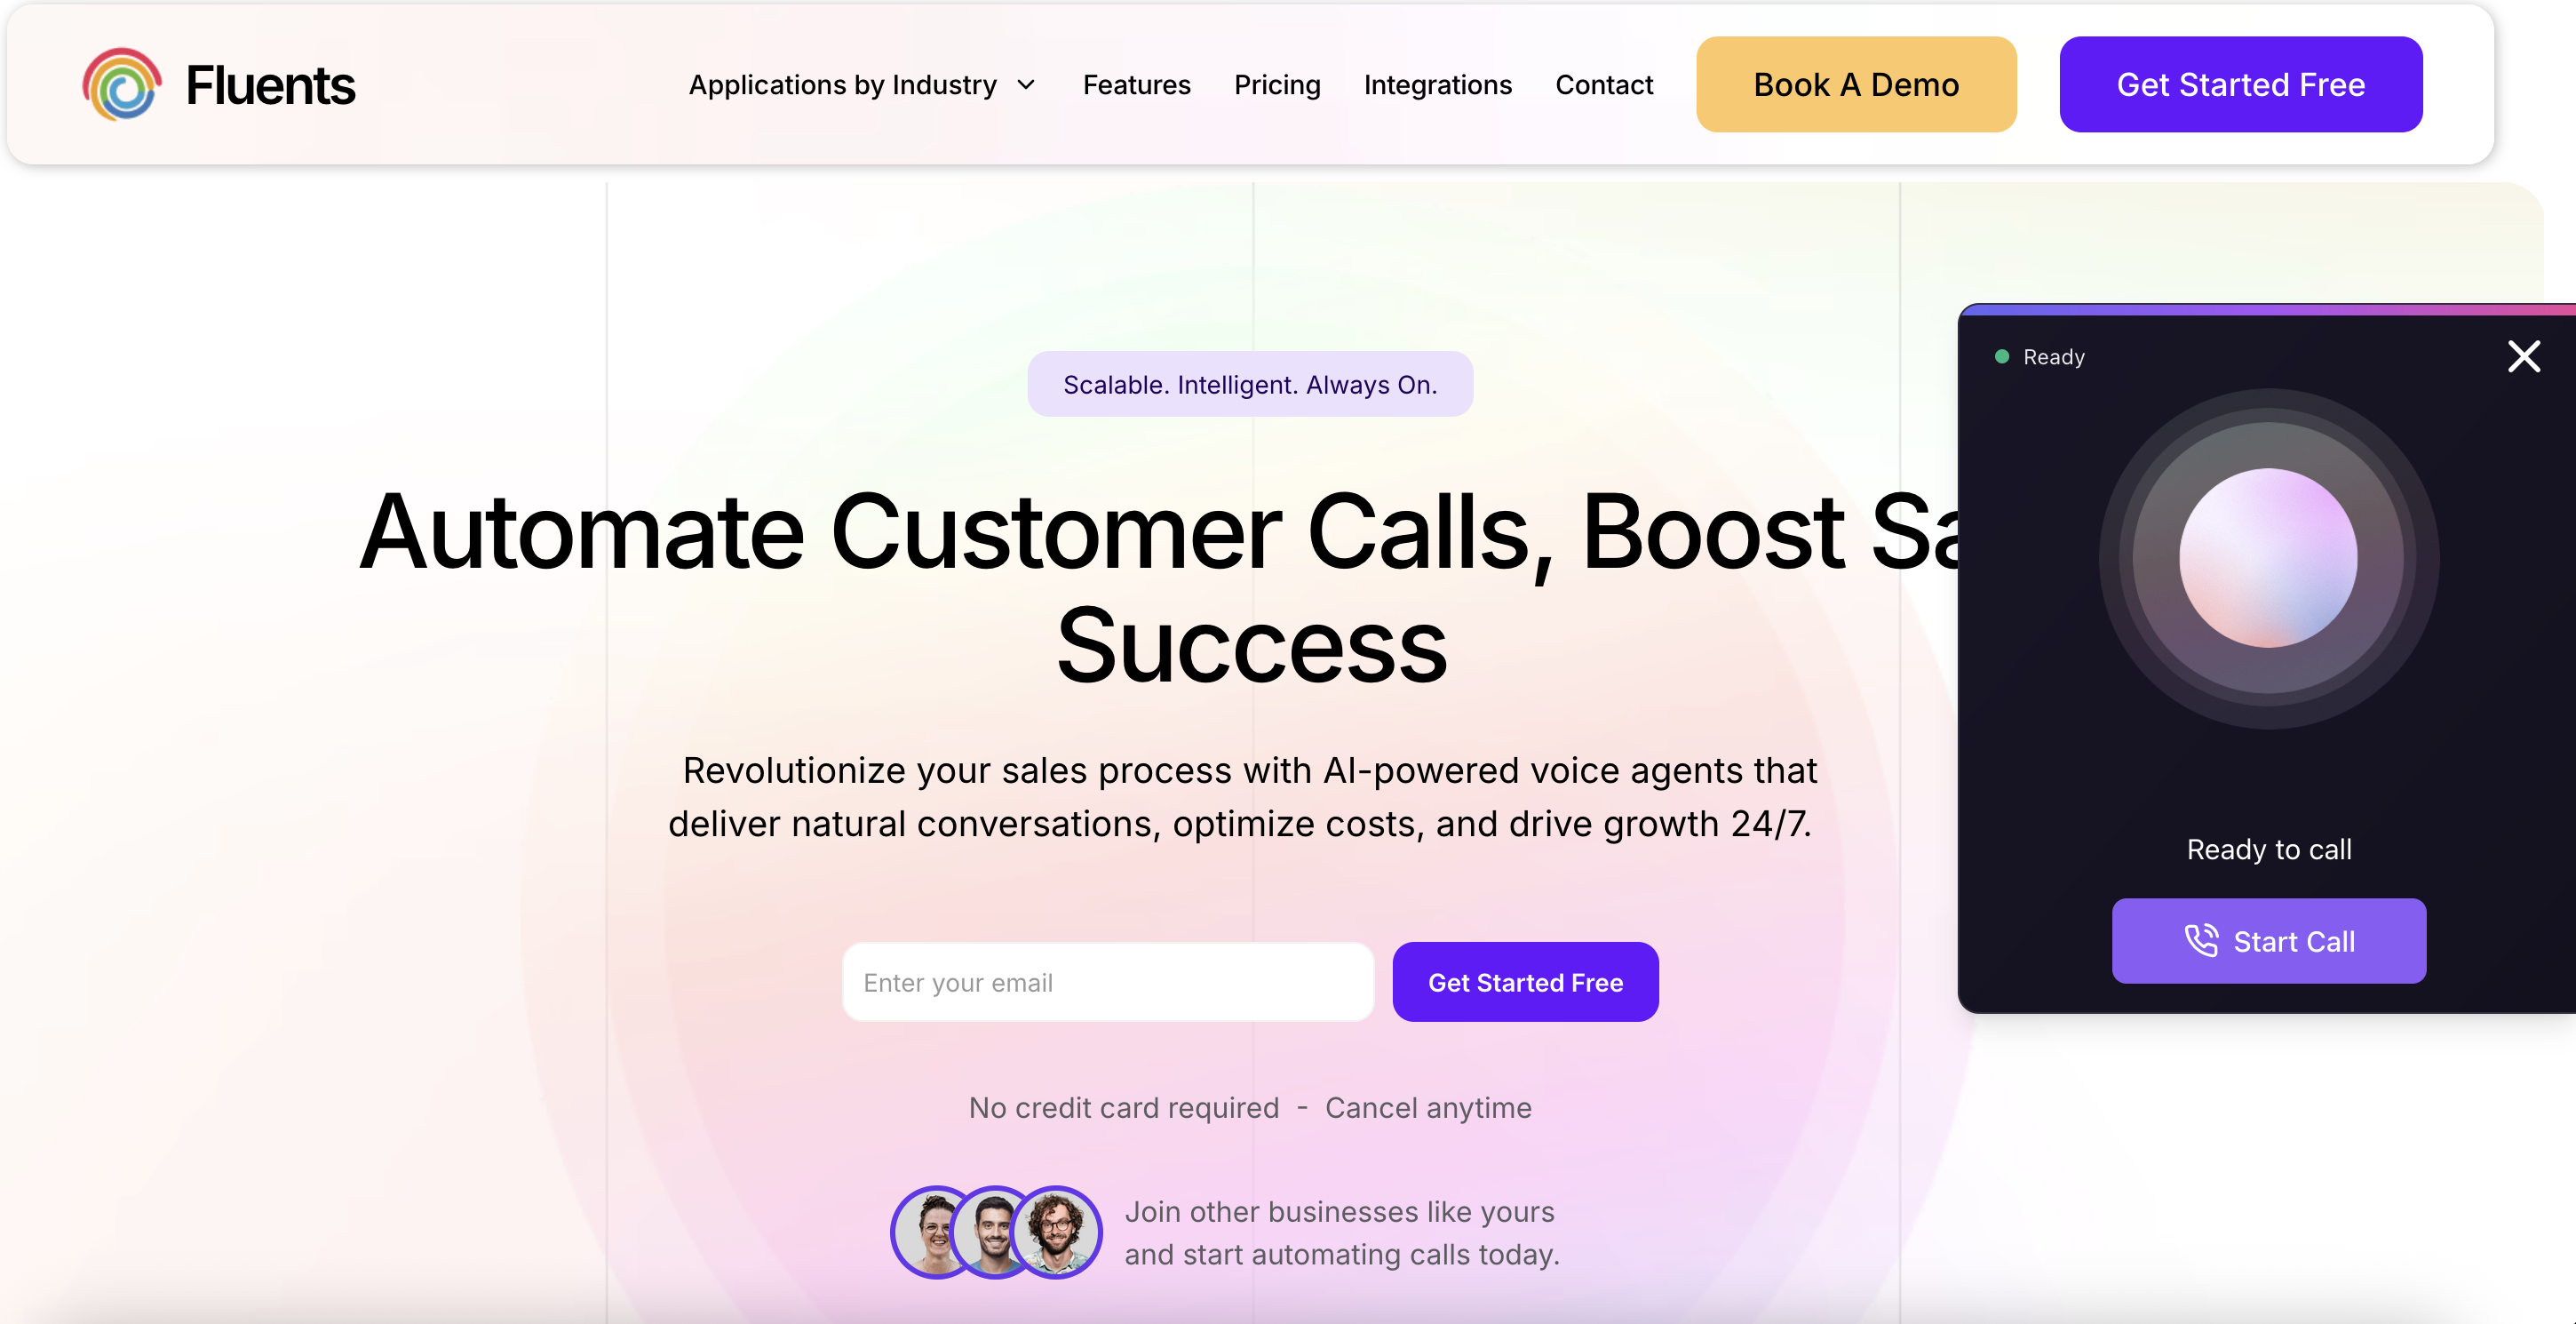
The **Fluents.ai Widget** lets you embed a web-based AI Agent directly on your website, giving users instant access to conversational support and interaction.
***
## How It Works
The widget is a script you add to your website.\
Once installed, it loads a web Agent configured in your Fluents.ai settings.
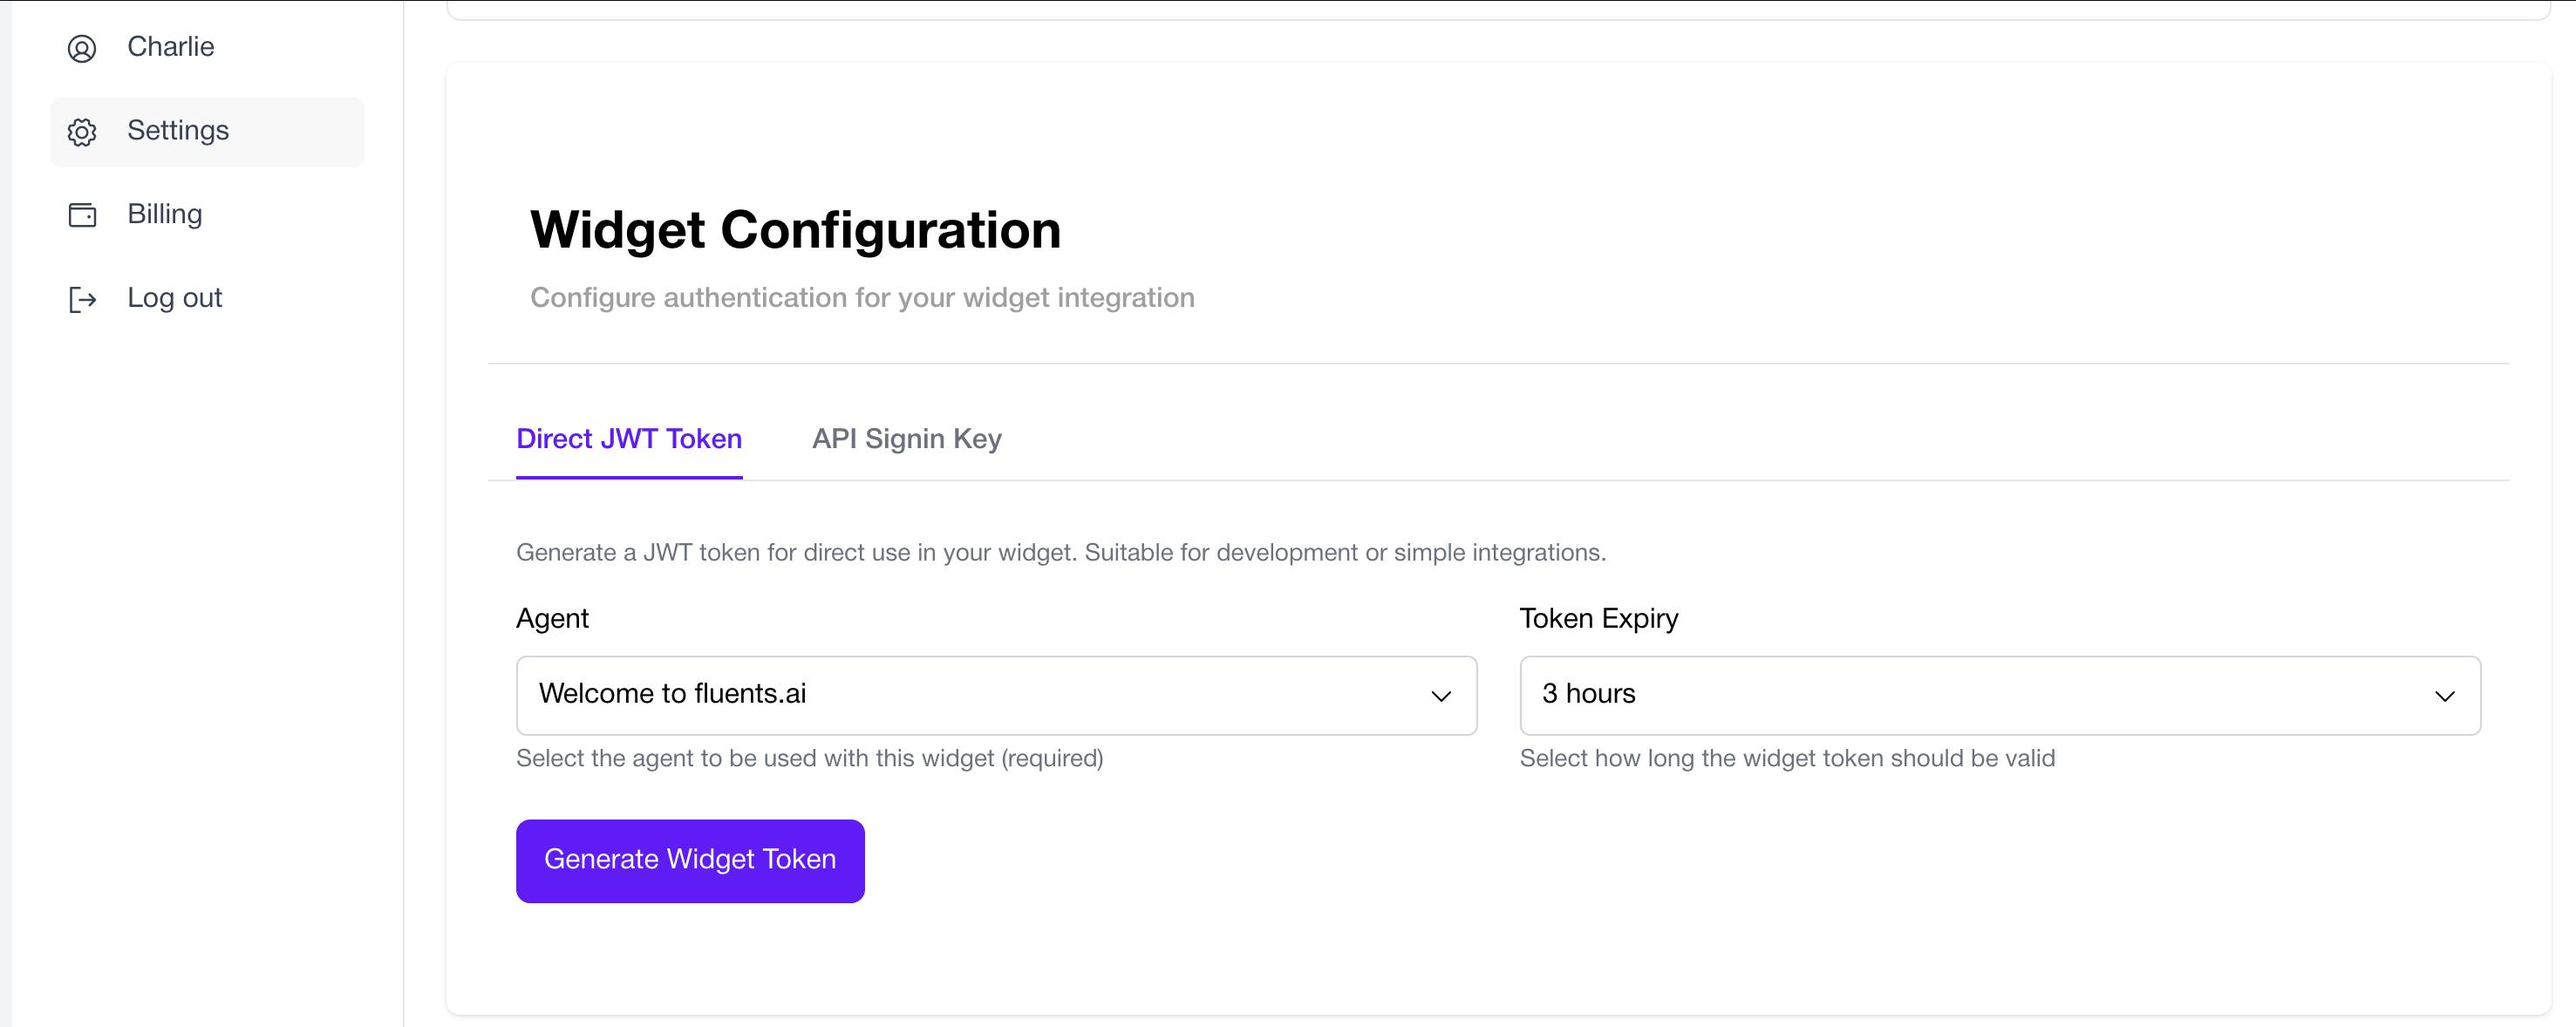
All widget settings are available under the **Widget tab** in **Settings**.
 ***
## Authentication Options
You can authenticate the widget in two ways:
### 1. Direct JWT Token
* Select the Agent the widget should use.
* Configure token expiration:
* 30 minutes
* 1 hour
* 3 hours
* 6 hours
* Never expire
### 2. API Sign-In Key
* Use an API key to dynamically generate access tokens for users.
* Recommended for personalized or authenticated website experiences.
***
## Authentication Options
You can authenticate the widget in two ways:
### 1. Direct JWT Token
* Select the Agent the widget should use.
* Configure token expiration:
* 30 minutes
* 1 hour
* 3 hours
* 6 hours
* Never expire
### 2. API Sign-In Key
* Use an API key to dynamically generate access tokens for users.
* Recommended for personalized or authenticated website experiences.
 ***
## Embedding the Widget
* Add the script to any page where you want the Agent to appear.
* Positioning and design are fully customizable.
***
## Next Steps
Continue setup with the [Roles Guide](./roles).
***
## Embedding the Widget
* Add the script to any page where you want the Agent to appear.
* Positioning and design are fully customizable.
***
## Next Steps
Continue setup with the [Roles Guide](./roles).